How to Perform a Basic Scan
This section explains how to perform a basic scan.
Depending on the connection method of the scanner, use only the USB cable to connect to a computer or use only a LAN cable to connect to a network device. Do not use both cables at the same time.
You cannot use a scanner in multiple ways at the same time.
For details about how to switch the usage method of the scanner, refer to How to Change the Way the Scanner Is Used.
When scanning with the scanner connected to a computer via a network, the image quality is lower than when scanning with the scanner connected via a USB cable because the image transfer speed is prioritized.
In the scanner driver, you can set the image quality to the same level as the level that is set when scanning with the scanner connected via a USB cable. For details, refer to the help for the scanner driver.
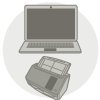 Using the Scanner Connected to a Computer
Start scanning with one of the following methods.
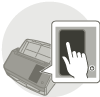 Using the Scanner by Itself (DirectScan)
Start scanning with the following method.
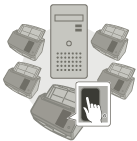 Using the Scanner Connected to PaperStream NX Manager
Start scanning with the following method.
When using the scanner connected to PaperStream NX Manager, you need to set up an environment and configure settings for PaperStream NX Manager.
For details, refer to the PaperStream NX Manager User's Guide.
The PaperStream NX Manager User's Guide can be downloaded from the following web page:
https://www.pfu.ricoh.com/global/scanners/fi/support/manuals/
For details about how to start a scan from a browser on a computer/thin client when using a scanner connected to PaperStream NX Manager, refer to the PaperStream NX Manager Web Scan User's Guide.
The PaperStream NX Manager Web Scan User's Guide can be downloaded from the following web page:
https://www.pfu.ricoh.com/global/scanners/fi/support/manuals/