Performing a Scan with an Image Scanning Application (When Using the Scanner Connected to a Computer)
This section explains about the basic flow of performing a scan using an image scanning application on the computer.
In this case, a scanner driver and an image scanning application that supports the scanner driver must be installed on the computer.
The following scanner driver and image scanning applications are bundled with the scanner:
Scanner driver
PaperStream IP driver
Image scanning application
PaperStream ClickScan
PaperStream Capture
For details about the scanner driver and image scanning applications, refer to Overview of the Bundled Software.
Scanning procedures, operations, and scan setting items slightly vary depending on the scanner driver and the image scanning application.
For details, refer to the help for your scanner driver and the manual/help for your image scanning application.
- Confirm that the following main screen is displayed on the touch screen.
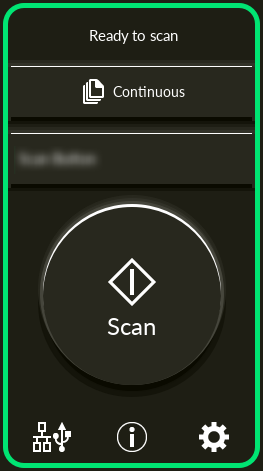 TIP
TIPIf the above screen is not displayed, refer to How to Change the Way the Scanner Is Used to change the main screen.
-
Load a document in the ADF paper chute (feeder).
Load the document face-down in the ADF paper chute (feeder).

For details, refer to How to Load Documents.
Do not perform any of the following operations.
Doing so stops a scan.
Disconnecting the USB cable
Disconnecting the LAN cable
Disconnecting the network
Logging off from the computer
When an image scanning application that allows jobs to be created, such as PaperStream Capture, is installed on a computer, if a job is associated with a function button of the scanner in the scanning application settings, the job name is displayed on the function button on the touch screen of the scanner.
When the scanning application on the computer is ready to scan a document, in some cases, it is possible to scan a document by pressing the [Scan] button of the scanner instead of operating the scanning application to scan a document.
In that case, even when the job name is displayed in place of the name of the function button (Scan Button) on the touch screen, scanning can be started from the image scanning application on the computer.