This section explains how to save images to a folder on the network by using [Save to a folder] with DirectScan.
A location such as a folder on the network or an FTP server can be specified as the save destination for images.
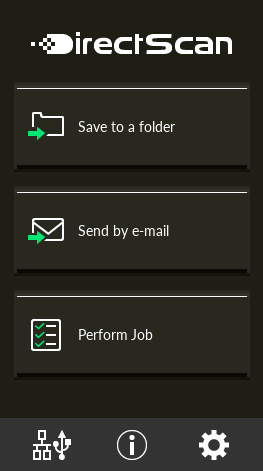
- Confirm that the following main screen is displayed on the touch screen.
- Load a document in the ADF paper chute (feeder).
Load the document face-down in the ADF paper chute (feeder).
For details, refer to How to Load Documents.
- Press the [Save to a folder] button on the touch screen.
- In the [Select Save Destination] screen, press a save destination.
- In the [Scan Settings] screen, change the settings as needed and press the [OK] button.
To configure the scan settings in detail, press the [Advanced settings] button.
For details about the scan settings, refer to Scan Settings.
- In the [Ready to scan] screen, press the [Scan] button.
Scanning starts.
HINT
When [Continue scanning] is enabled in the scan settings, the [Scan] button appears on the [Ready to scan] screen after scanning is complete.
To continue scanning documents, load the documents in the ADF paper chute (feeder) and press the [Scan] button.
- When the [Complete Scan] button appears after scanning, press the button.
HINT
When the following functions are enabled in the scan settings, the [Complete Scan] button appears on the [Ready to scan] screen after scanning is complete.
Continue scanning
Display thumbnails
- When the send confirmation screen appears, confirm the information of the images to be sent and press the [Send] button.
HINT
The send confirmation screen appears when the following functions are enabled in the scan settings.
 HINT
HINT