Setting the Documents by the Left or Right Side of the Hopper
-
Slide the hopper side guides to their outermost positions.

-
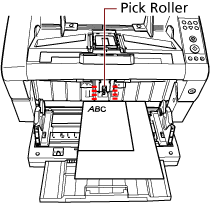
Set the documents so that the smallest document can be picked by the pick rollers.
Set the documents with the front side (scanning side) facing up.
 ATTENTION
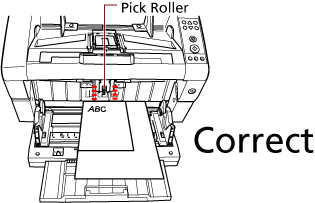
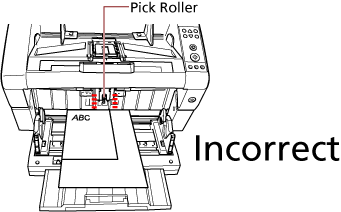
Make sure that all documents are placed underneath the pick roller, otherwise the document will not be picked.
Good example
Bad example
-
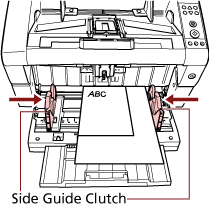
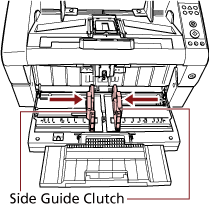
Adjust the hopper side guides to the document width.
Move the hopper side guides towards the center as you press the side guide clutches, and leave no space between the hopper side guide and the widest document.
-
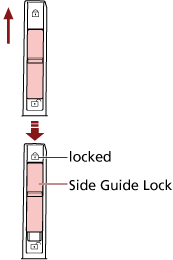
Lock one of the hopper side guides.
In this case, lock the hopper side guide on the right side by sliding up the side guide lock.
-
Move the other hopper side guide to the target position while pressing the side guide clutch.
In this case, slide the left hopper side guide as you press the side guide clutch and leave no space between the hopper side guide and the document.

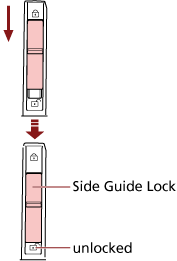
To unlock the hopper side guide, follow the steps below.
Slide down the side guide lock of the hopper side guide that is locked.
Move both hopper side guides towards the center while pressing the side guide clutches.
Release the side guide clutches.
Both hopper side guides will now move in conjunction with each other.